crochet for beginners
#crochet-beginners #status_complete
welcome to the world of crochet!
I'm SO glad you're here! To me, this craft is beautiful, relaxing, challenging, and rewarding. No matter if you want to make clothes, plushies, wall art, bags, or housewares, this craft has something for you. It doesn't require any expensive machinery or an elaborate setup. Whether you have a few minutes to spare or several hours to kill, you can just pick up your hook and go!
A word of advice: Learning is hard. There will be times where you feel awkward, silly, confused, or frustrated. There will be times when you see what others are doing and feel like you'll never get that far. But don't give up. That uncomfortable place is the outer edge of your knowledge and skill. If you're there, then you're in the right place. That place is where learning happens! Challenging ourselves and working through that discomfort is how we grow. Don't give up. You can do this!
supply list
If you're just starting out, these are my recommendations for crochet supplies and tools. At a minimum, I recommend:
yarn
For beginners, I recommend starting with Weight 4 or 5 yarn that is acrylic, cotton, or a blend of the two. (If you're unsure of what any of that means, check my yarn page for more information!) Choose any medium to light color, preferably a solid (not multi-colored). Also, avoid yarn that is very fuzzy.
Why all the rules? When learning to crochet, it's important to learn stitch anatomy, recognize what stitches you've made, and see where your next stitch needs to go. A thick, solid, non-fuzzy yarn will make clear, visible stitches that you can examine and learn from.
You can find this type of yarn at any craft store and most craft sections of department stores. I recommend the following brands: Premier, Loops & Threads, Lion Brand, Hobbii (online only), and Crochet.com/KnitPicks (online only). But if you're crafting on a budget, check out my low-cost recommendations on my crochet on a budget page.
crochet hooks
While a crochet hook set is great to have, they can be quite expensive. Fortunately, most brands sell hooks individually, so you can slowly build your set over time according to your needs and preferences.
When you buy your yarn, the label will indicate a hook size for the yarn gauge, either with a letter/number, a diameter in millimeters, or both. (Look for the hook symbol, not the crossed needles symbol.) This is the hook size you will need for that yarn.
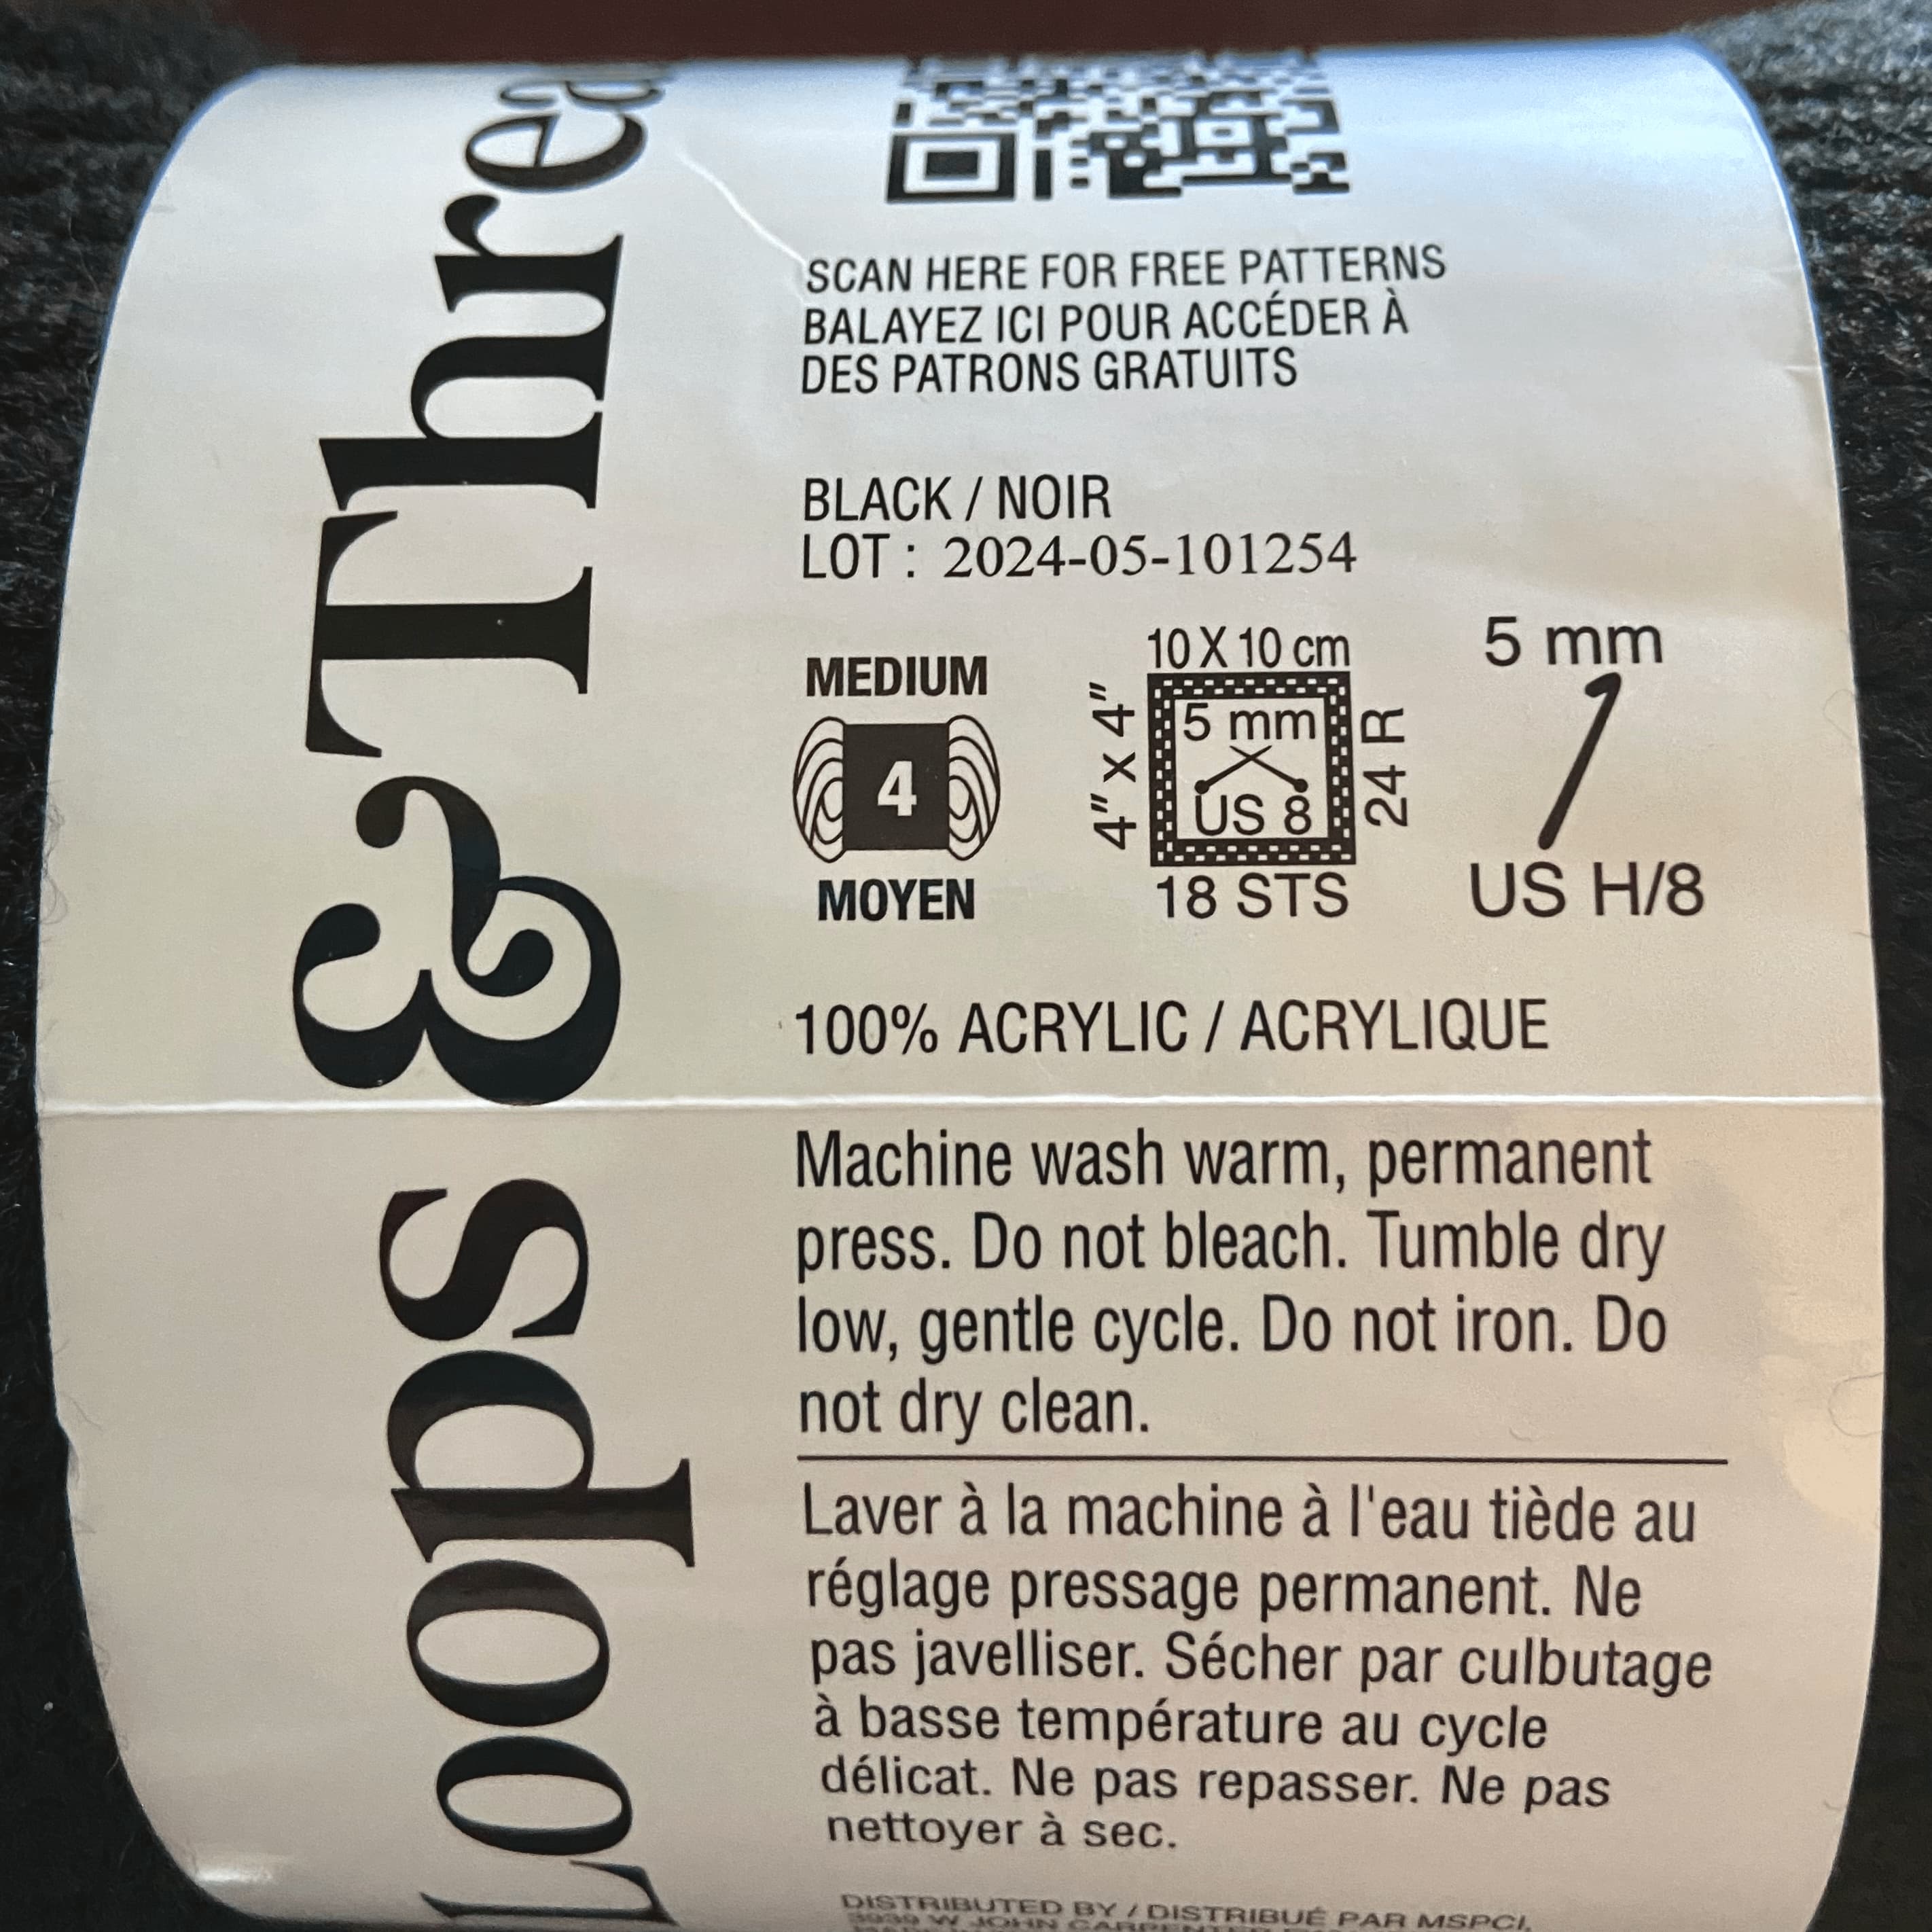
If you're using secondhand yarn, you might not have a label attached to your yarn. Generally, I recommend 5.0mm (H/8) for Weight 4 yarn and 6.5mm (K/10.5) for Weight 5 yarn.
Hooks can come in many styles, shapes, and materials (see: hooks and holds). Which should you pick? Short answer: whichever feels most comfortable in your hand. As you gain more experience, you'll develop preferences for shape and materials for different yarns and crochet techniques. But for now, pick something you can feel comfortable holding for a long period of time.
Now, I know that most new hooks don't let you hold them without opening their packaging, so these are my suggestions that I think would work well for most learners. Note that these suggestions are less about the particular brand and more about the shape and material!
stitch markers
As I mentioned before, learning the anatomy of stitches is essential when starting out. Having stitch markers will help you identify stitches, particularly the first and last stitches. These are also useful when counting a large number of stitches.
Make sure you get the stitch markers that can be opened. These come in two styles: split ring markers and locking markers. (Ring markers with no opening are meant for knitting.) Split rings are easy to slip on and off. Locking markers are slower to slip on but are more secure.
If stitch markers aren't in your budget, see my alternatives here: crochet on a budget.
scissors or thread snips
You don't need to get fancy with these. Any regular pair of scissors will do. Though, if your budget allows it, having a small pair of thread snips is nice for convenience and crocheting on the go.
tapestry needles
These are sometimes called yarn needles or darning needles. They are thicker than a normal sewing needle and have a blunt tip. See an example here. They are often made with plastic or metal. I highly suggest getting a metal needle; plastic ones tend to break. But if plastic is what you have available, that's okay!
Tapestry needles can have a straight tip or bent tip. I like a straight tip for sewing crochet pieces together and a bent tip for weaving in ends. If your budget allows for only one style, I suggest getting a straight tip needle.
things i wish i knew as a beginner
-
Don't buy yarn without a plan. I know it's tempting to buy a random skein just because it's pretty, but buying yarn without a specific pattern in mind makes it harder to work with. Being able to freehand crochet patterns or modify existing patterns to work with the yarn you have is an intermediate skill. Save yourself some pain and money; have a plan.
-
Use patterns from established, reputable designers, at least when starting out. These are the designers with a website, an extensive portfolio, a book, and/or an affiliation with a major yarn brand. Why? These designers are professionals and will have had their patterns tested and tech edited before publishing. These are the patterns you want to learn from, and many of them are free. Avoid learning from patterns from small, amateur makers on TikTok/Instagram/YouTube/Etsy. These patterns often don't use standard notation or stitch names, aren't tested by other crocheters for clarity and accuracy, and sometimes employ bad/lazy techniques. Come back to these when you've got more experience.
-
Check your gauge, especially for wearables. Please do not skip this step when starting a new pattern. I know you want to jump right in and get results now, but if you skip gauge, you risk wasting time and materials on a project that was doomed to fail from the start. Build good habits and take the time to do it right.
-
Weave in your ends. I've seen so many bad takes on social media recommending that you knot your ends, cut them off, glue them down, or leave them unwoven. Please don't do this. You worked hard on your project. Give it the respect it deserves and weave in your ends properly. It'll last longer, survive the washing machine, feel more comfortable to wear, and look well-made. There are times when it's okay to leave ends unwoven, but this is a case-by-case basis, so follow your pattern instructions on how to handle them.
you've made it to the end. now go out and learn crochet!
Now that you've got a primer, it's time to start learning and practice, practice, practice!
I have a section in my -- crochet link directory -- for beginner-level tutorials and information, I have a #crochet-beginners tag for other helpful garden pages, and I've shared some beginner patterns below.
Now get out there! You've got this!